Quickstart
Create your Endless account, set up your workspace with your brand and social accounts, and send your first prompt from a starter project in five minutes.
Set up an account and a workspace, then generate your first image. Everything except that generation is free.
Create your account
Sign in with Google or Microsoft, or type your email address and paste the code Endless sends you.
Set your workspace up
A brand-new account has no workspace, so Endless runs a seven-step wizard that creates one. The first step offers to read your website or social profile; choose "Enter details manually" instead — the second action under the field. Same questions, answered by you, and you keep control of what Endless learns.
Answer the questions
Every field is optional and Continue is always available, so move quickly and fill the gaps later.
- Brand — name, what you do, voice and vibe, audience. The one worth typing properly: it shapes the tone of everything Endless writes for you.
- Social accounts — Instagram, X, TikTok, LinkedIn.
- Reference links — where Endless reads from.
- What to create first — tunes your first suggestions.
- Name the workspace and its URL. On a workspace that already exists, this step is an optional drop for brand guides, decks and PDFs instead, which become assets in your project.
Let it build
Endless creates your first project, writes what you told it into that project's knowledge, and saves your accounts and sources. Then it opens your workspace home with a starter prompt already typed in, mentioning the project it just made. Nothing has been sent: read it, change it, or send it — that first turn costs credits. Learn more about what that project is for.
Give me 5 content ideas for Northsole this week. @northsoleFive, using what the project already knows:
1. The outsole before and after a wet-weather test…
2. The founder answering the question the comments keep asking…
Generate your first image
Open Image from the Tools section of the sidebar and describe the image you want — or select a preset card to fill the composer for you.
A matte black bottle on wet stone, backlit at dawn, cinematic haze, shallow depth of field, warm neutral paletteTwo things to check before sending:
- The model. The picker remembers the last one you used; models your plan doesn't cover appear dimmed, with the plan they need named on them.
- The cost badge next to the composer. It updates as you change the model and the settings, and it is the number you are actually charged.
Add reference gives the model an image to work from, Advanced parameters opens its own controls, and Reset all puts them back. Send, and the finished image appears in the feed:
Try an image first, not a video. Video models are the expensive end of the catalog — one clip can cost more credits than a whole week's free allowance, and the cost badge says so before you send.
Find it again
Open Assets. Your image is the newest thing in it, and the rail on the right narrows the library by project, type, date, source and model.
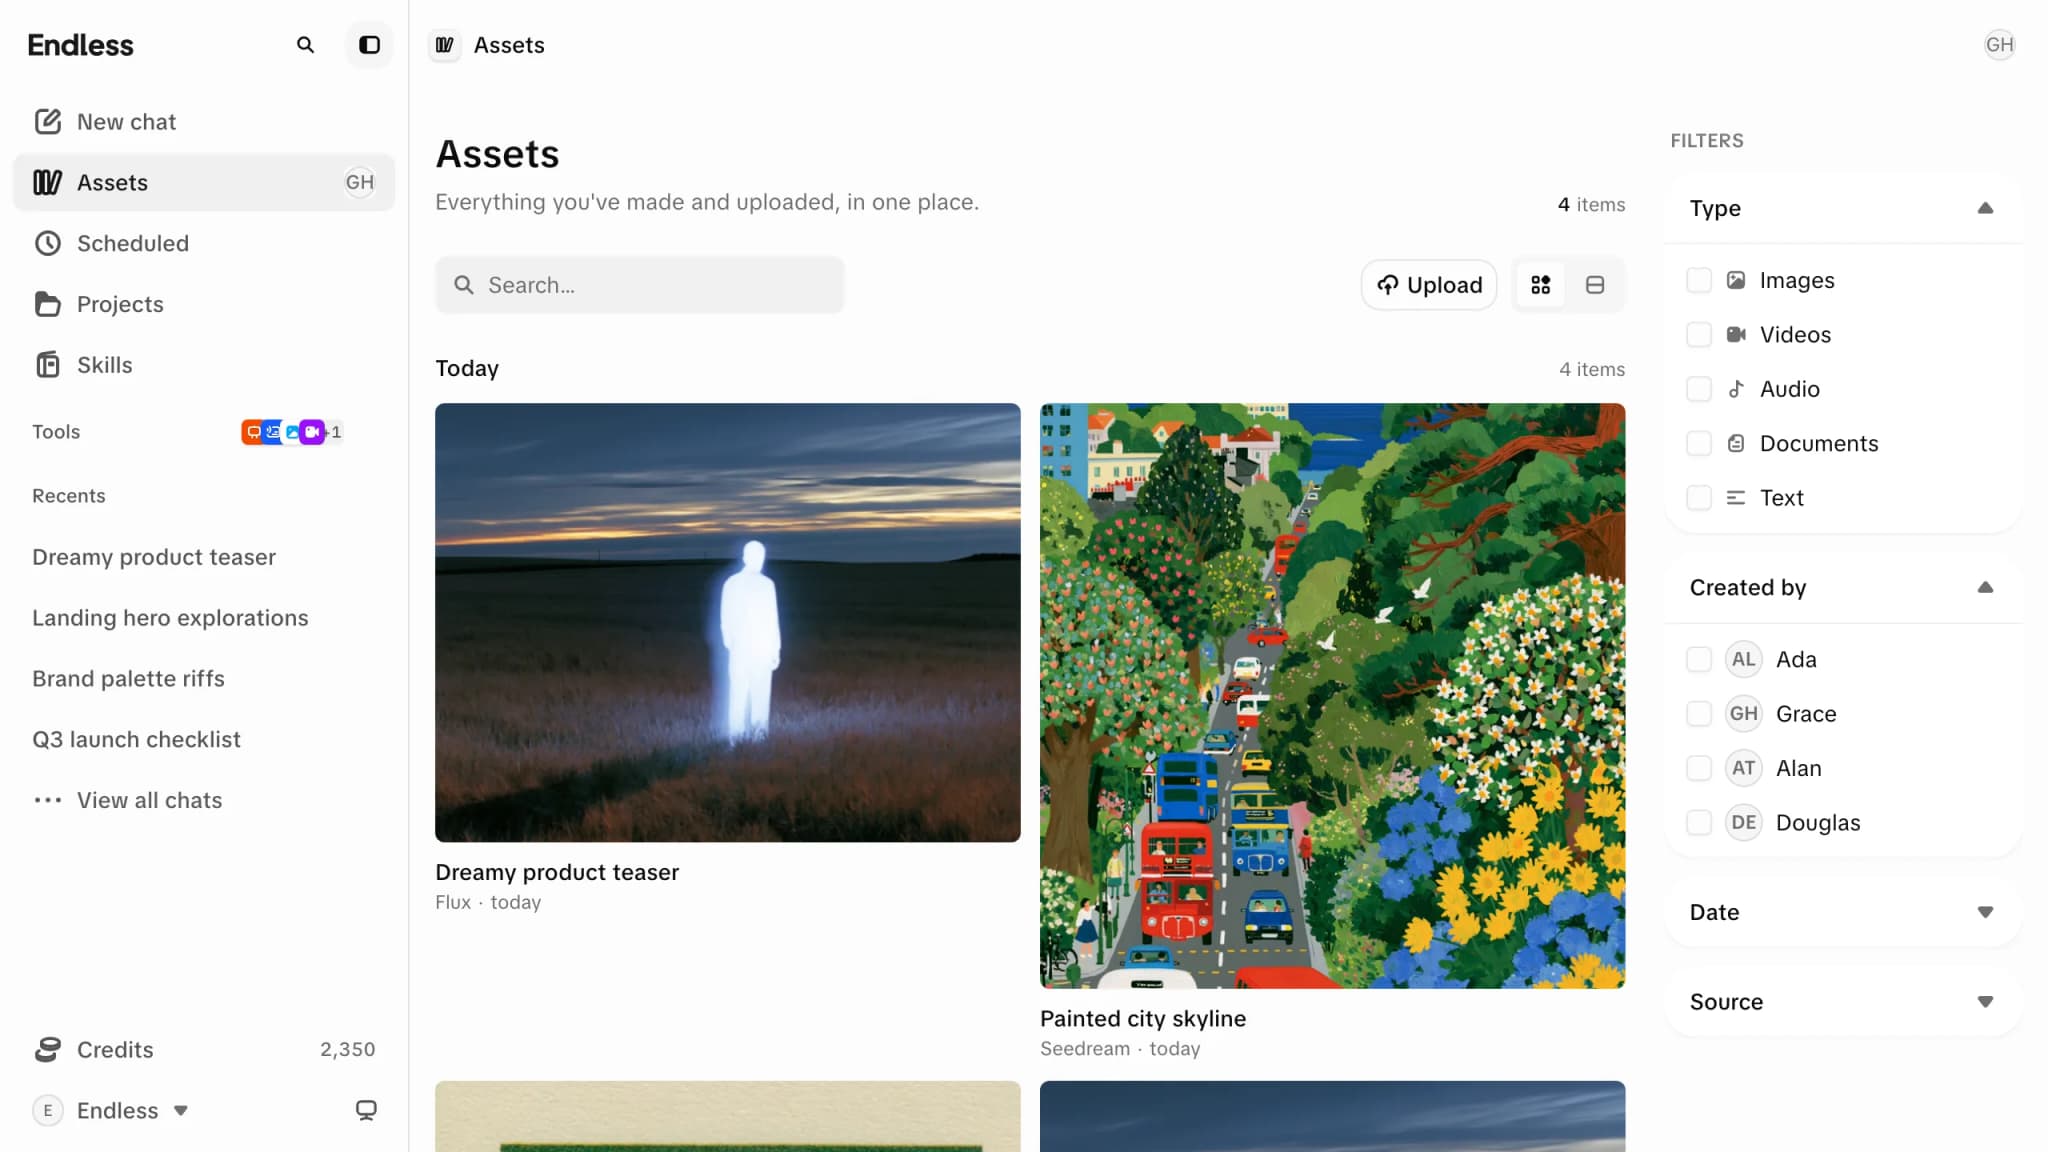
It is private to you until you share it — nobody else in the workspace can see it yet, not even an admin. See assets and visibility.